Why Should You Create a Business Page on Phil?
In today's world, having an online business page can make a significant difference in the growth and development of your business. Do you want to attract more customers and increase your sales? A professional page on Phil can help you achieve this goal.
Businesses with an online and trustworthy presence have a higher chance of gaining customer attention and growing their brand. By creating a business page on Phil, not only can customers easily find you, but you also establish a professional image that builds trust.
The process of creating a business page on Phil is simple. All you need to do is enter your business information, upload the required documents, and wait for Phil's experts to approve your submission.
Steps to Register Your Business on Phil
1. Log in to Your Account:
To begin the process of registering your business, first log into your account. On the main page of the website, click on your username at the top right corner of the screen and select the “Account” option.

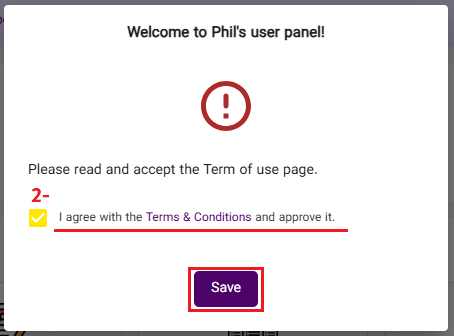
2. Accept the Website's Terms and Conditions:
After logging into the dashboard, to access all features and register your business, you must first tick the box to confirm acceptance of the “Terms and Conditions” and then click “Save.” This step is essential to proceed further.
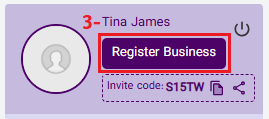
3. Register Your Business:
Once the terms and conditions are activated, you will see the “Business Registration” option below your username on the left-hand side of the screen. Clicking on this option will take you to the next step of the process.
4. Define the Type of Business on Phil:
At Phil, we offer a simple and user-friendly solution for business registration.
Whether you are self-employed without a formal license or the owner of a company with an official trade license, we have suitable conditions for both categories. Simply select your business type and upload the required documents. This approach ensures a smooth and hassle-free registration process, as the required documents vary depending on your business type.
5. Complete Your Business Information:
At this stage, you must carefully enter all the required information about your business. Failure to provide complete information will prevent your business registration. Therefore, ensure that all mandatory fields (marked with an asterisk) are filled in.
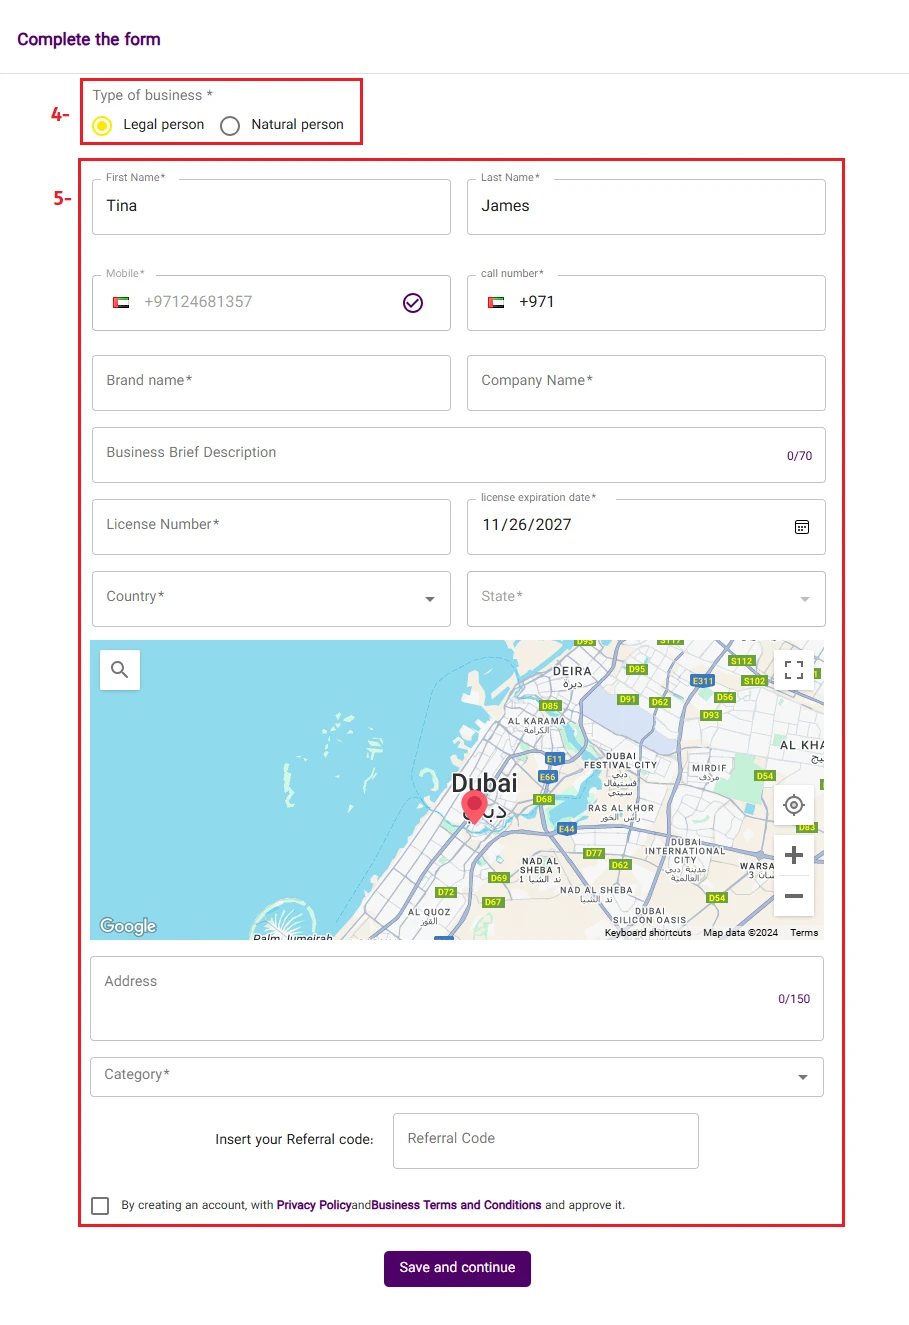
6. Activate Privacy Policy and Business Regulations Checkbox:
After completing the business details, scroll down to the bottom of the page, tick the “Privacy Policy and Business Regulations” box, and then click on “Submit and Continue.”

7. Upload Business Documents on Phil:
At this stage of the registration process, depending on whether you registered as an individual or as a company, you will be required to upload the relevant documents.
To complete the registration, you must upload your business documents, which may include:
- Business logo
- Trade license
- Emirates ID
- Signed contract
Uploading accurate and complete documents is crucial for verifying your business and affects the final approval process of your information.
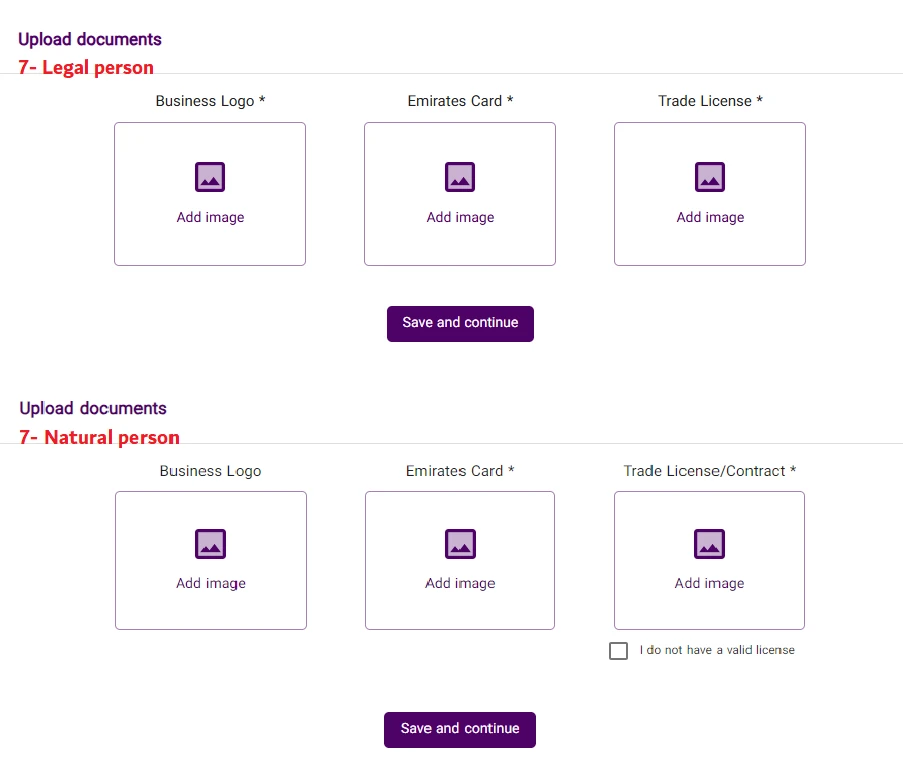
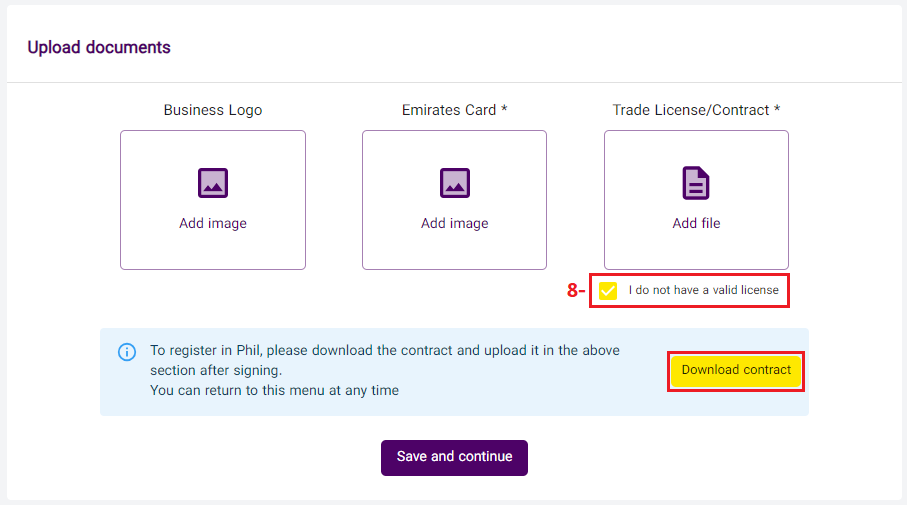
8. Uploading Documents for Individuals Without a License:
If you are registering as an individual without a valid license, you must tick the box “I do not have a valid license.” After this, a message will be displayed, prompting you to click on the “Download Contract” option. The Phil website’s contract file will be downloaded, which you need to complete, sign, and upload in place of the license.
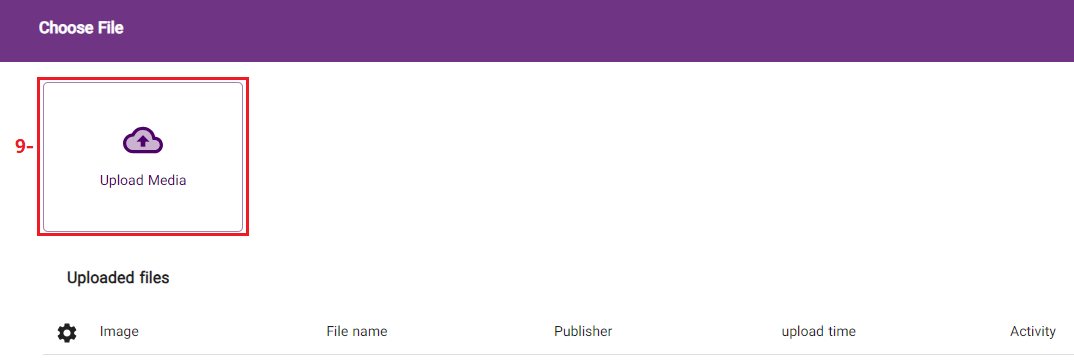
9. Selecting Files to Upload:
To add documents, use the “Choose File” section to select the files from your computer or mobile device and then click on “Submit and Continue.”
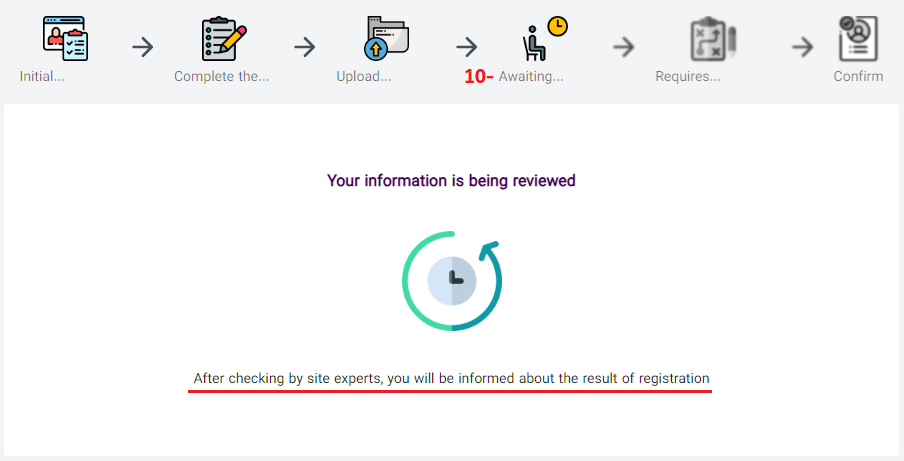
10. Waiting for Approval from Experts:
After submitting your documents, your status will change to “Pending Approval.” At this stage, your information will be reviewed by the experts at Phil.
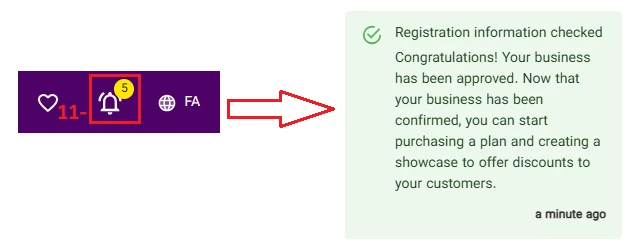
11. Approval or Rejection of Your Business:
After reviewing your information, if your documents and details are accurate, your business will be successfully approved. Whether approved or rejected, you will be notified via notification.
- To check notifications, go to the “Account” page and click on the icon located at the top right corner of the page, as shown in the image below.
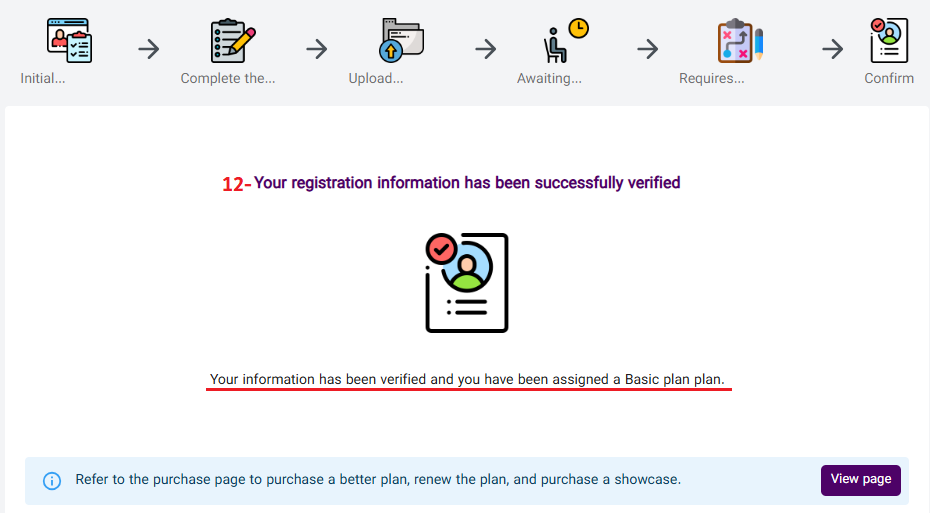
12. View Results in Notifications:
To view the approval results, click on the notification message. In this section, the confirmation message for your business registration will be displayed.
Guide to Using Phil's Exclusive Features
By purchasing Phil's diverse plans, you can take advantage of a wide range of features designed for the growth and professional management of your business. These features will help you:
- Showcase your products and services in attractive displays.
- Offer targeted discounts to attract more customers.
- Create a professional online presence for your business in Dubai.
- Gain access to advanced tools to manage customers and boost sales.
Why Should You Use These Features?
Using these capabilities helps you elevate your position within the Persian-speaking community in Dubai and achieve success faster for your business.
To get started, select the plan that suits you best and gain access to Phil's advanced features today.
You can find the PDF file as attached.
